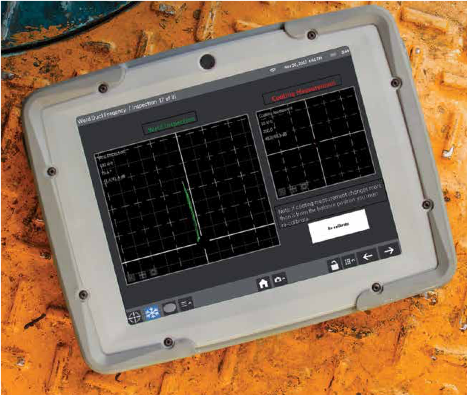
Waygate Mentor EM Eddy Current Instrument (Discontinued)
October 19, 2019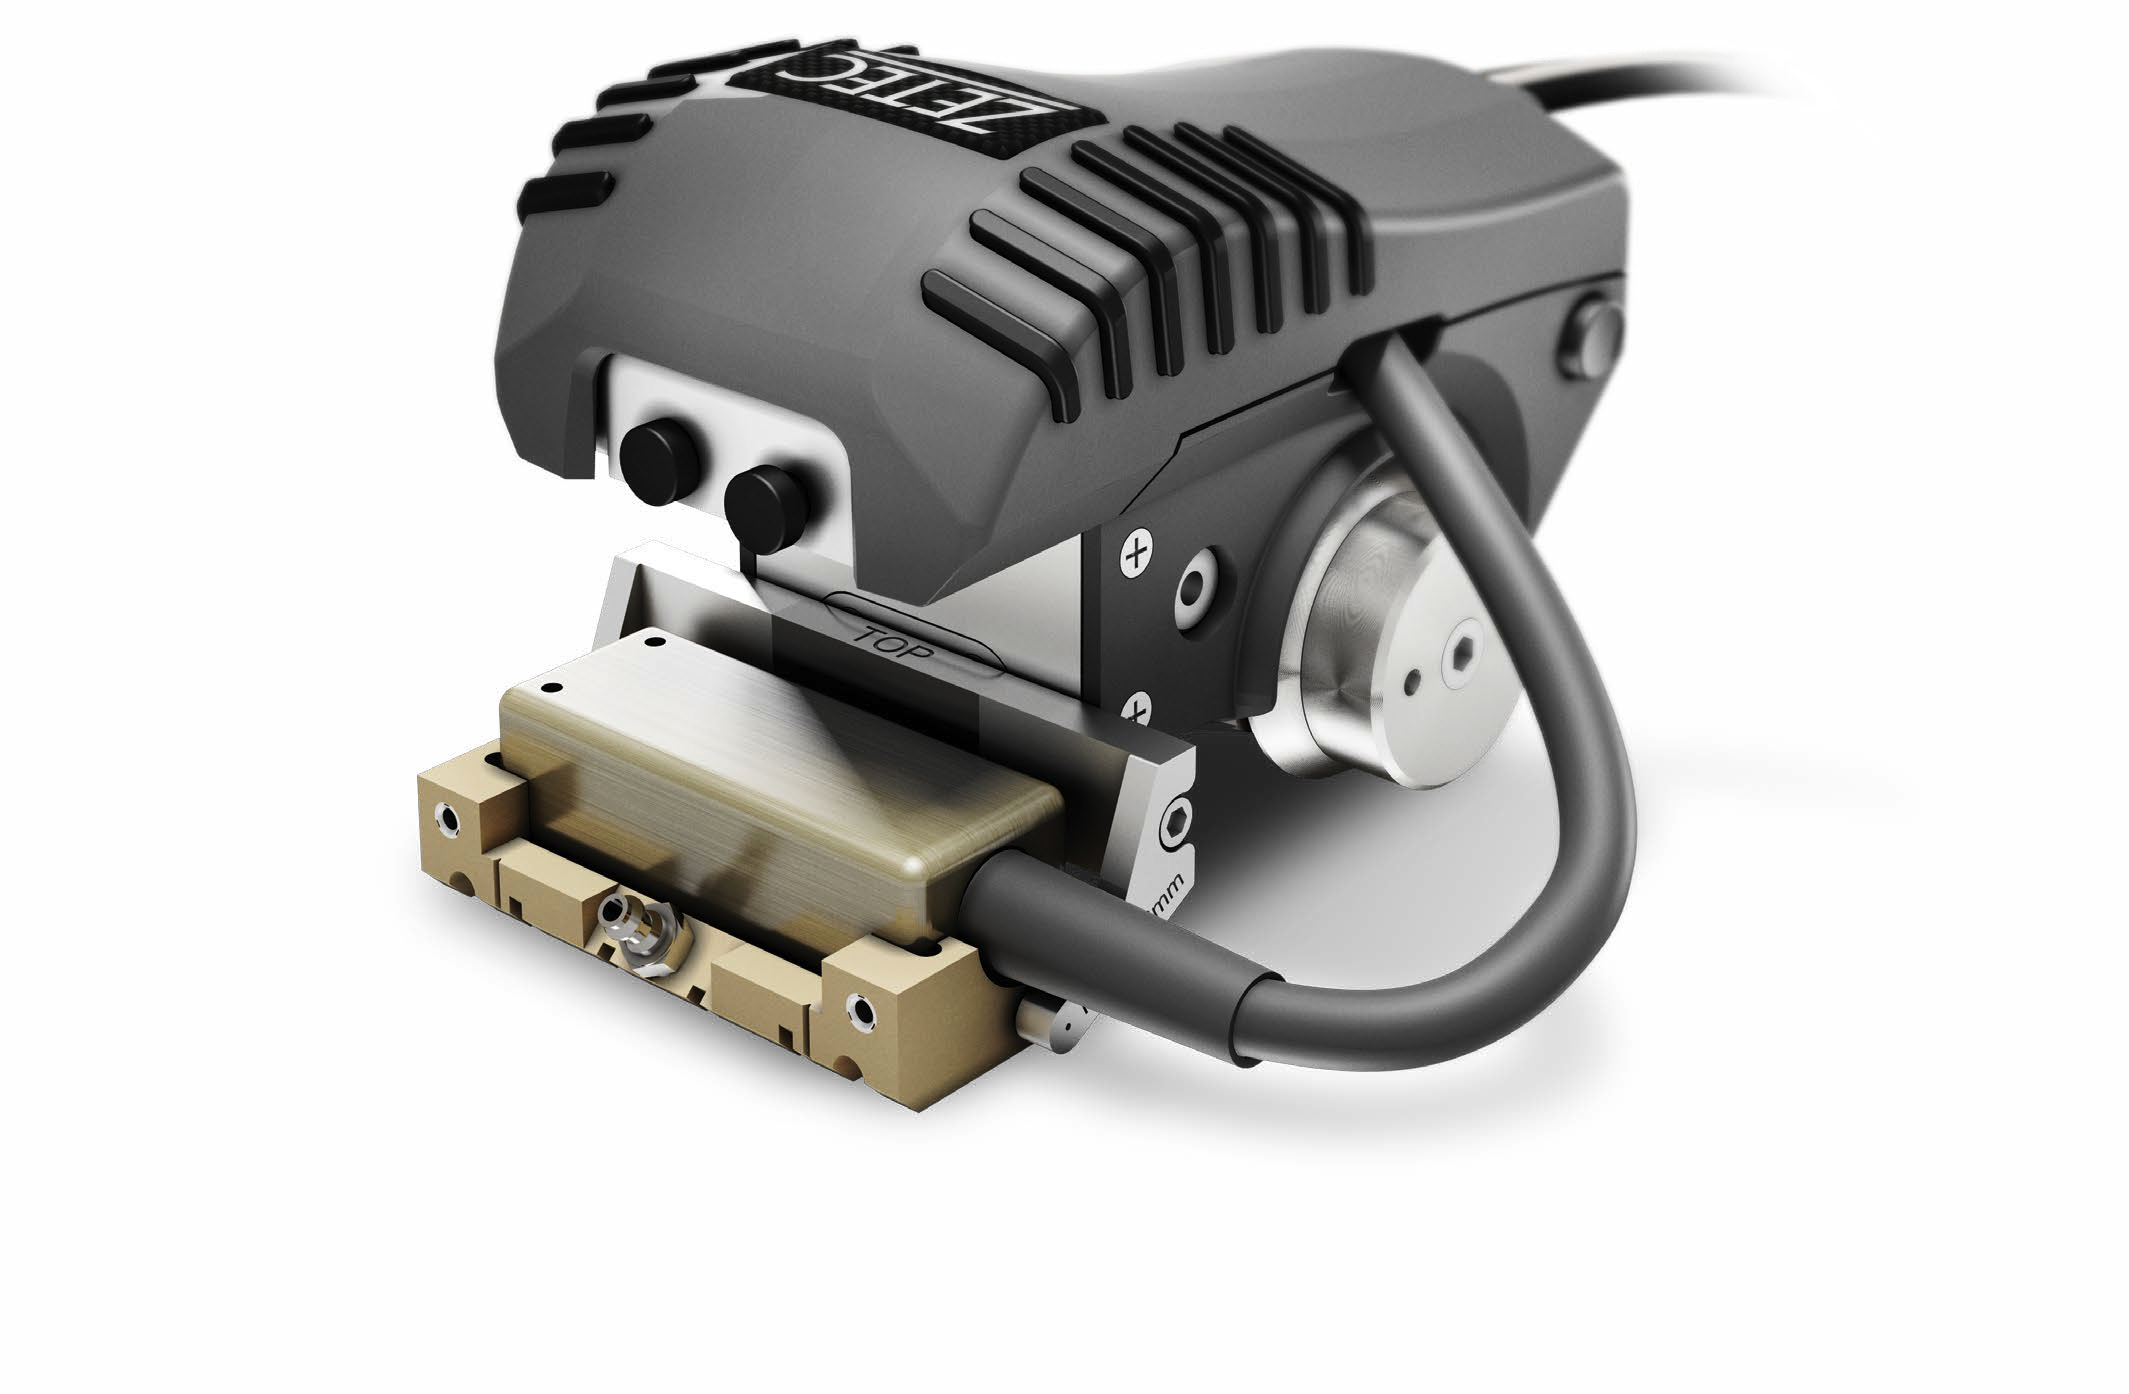
Zetec NDT Paintbrush Scanner
October 19, 2019IBG Eddyvisor Structure and Crack Test Instrument
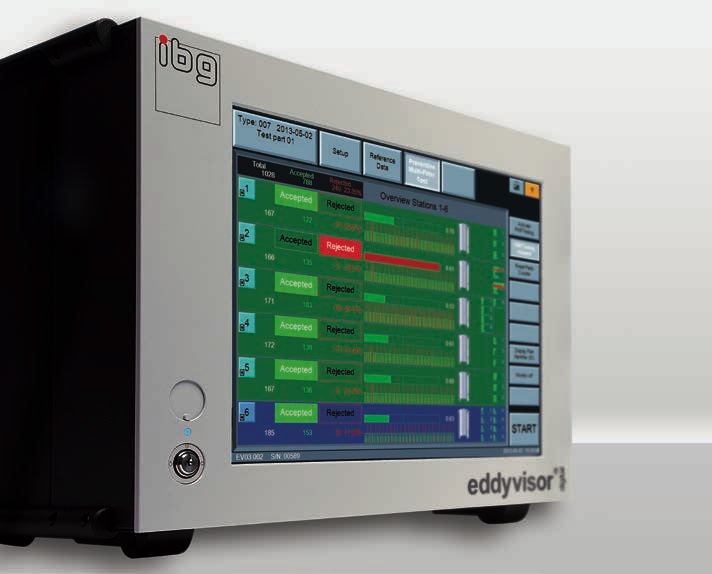
The IBG Eddyvisor Digital eddy current test instrument is for nondestructive testing of components, mass produced parts and semi-finished products for cracks, pores and grinder burn using Preventive Multi-Filter Technology and for material properties such as hardness, case depth, structure, tensile strength, heat treatment or alloy using Preventive Multi-Frequency Technology.
High power modular instrument concept with max. 16 independent crack detection channels, max. 32 structure test channels and their combinations.
Details
Features for Crack and Grinder Burn Testing:
Probes
- A selection of probes for crack detection is available which vary in trace width, sensitivity and shape. Customised probes for special applications are designed and manufactured in house. Compact and highly precise ibg rotating heads eddyscan H and eddyscan F are available, in many cases installed for optimization of cycle time. They work together with the test instrument eddyvisor. Cable break monitoring offers high security in continuous operation.
Probe Distance
- ibg probes are by default manufactured for a large probe/part distance of 0.7 mm. Thus, demands on part exactness and test mechanic are relaxed considerably.
Lift-off Compensation
- If a part is very eccentric, the distance of probe to test part may be additionally balanced electronically by use of the optional lift-off compensation. Special lift-off compensation probes are supplied for this function.
Suspend
- The suspend function blanks out areas not to be tested like holes or similar.
Displays
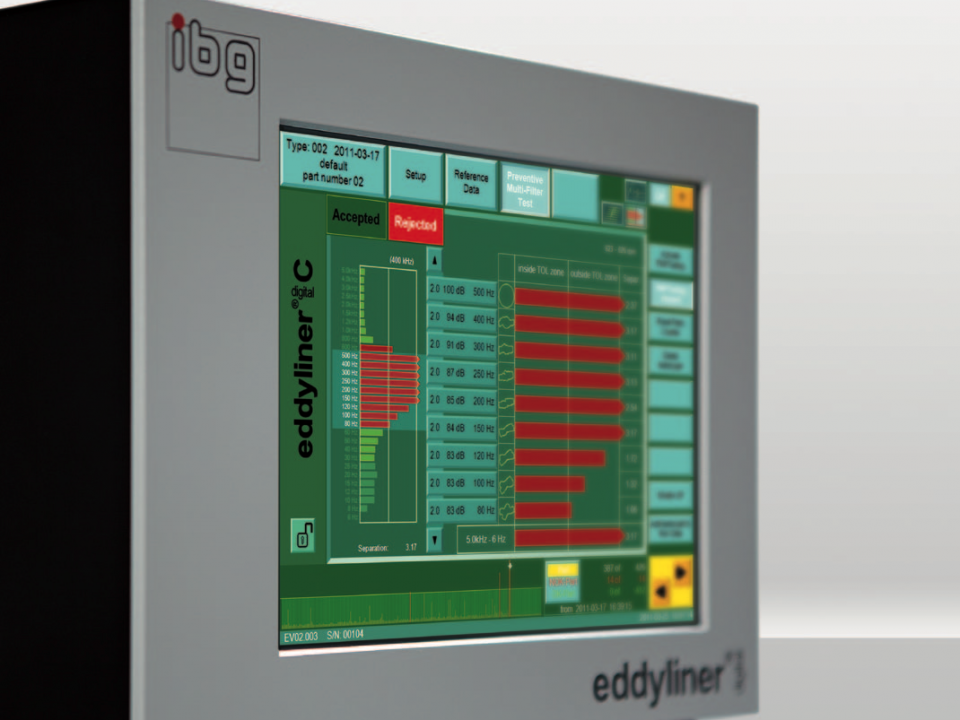
- Display of test results as bargraph, xy-diagram with tolerance zones and x(t) and y(t) or three-dimensional C-scan display can be selected. The C-scan (or waterfall diagram) is a rotationally synchronized display of test signal from part circumference enabling local allocation of defects on the surface.
Frequency Range
- The carrier frequency is selectable within a range of 3 kHz to 10 MHz in 21 steps. The filter frequencies of the 30 band pass filters distribute in the range of 6 Hz to 20 kHz.
Trigger of Test
- Manually on the instrument, via PLC or by optional start button.
Features of Structure Test:
Tolerance Zones
- During material data recording the eddyvisor automatically generates elliptic tolerance zones calculated for reliable testing. A tolerance zone editor is integrated for special situations in the structure test field, a skilful operator may freestyle the fields as rectangle, or ellipse, reduced or expanded, rotated or moved, etc.
iSHA Harmonics Analysis
- Eight test frequencies of the fundamental wave plus two harmonics (2nd to 9th arbitrary) for each of the eight test frequencies can be utilized without extension of test time. The standard setting is evaluation of the 3rd and 5th harmonic on each of the eight fundamental waves.
Display
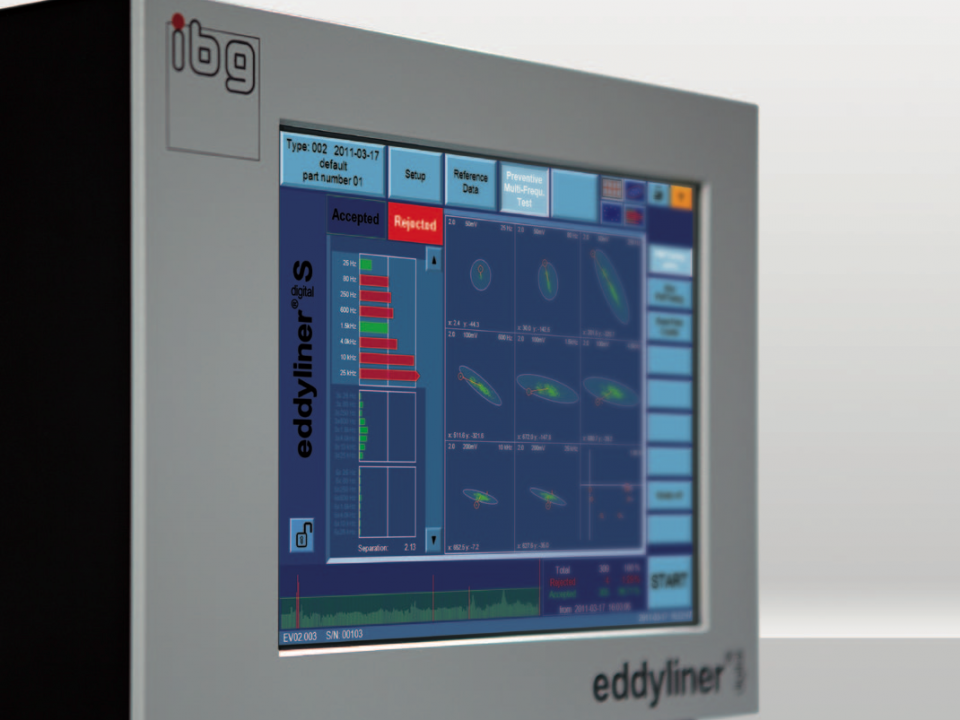
- Display of test results as bargraph diagram, single ellipse or multiple ellipse display selectable.
Coils
- A multitude of standard encircling coils up to a diameter of approx. 500 mm and probes for structure test are available for standard applications. Special applications may be solved by custom designed inner diameter I.D. coils or by rectangular coils which are designed and manufactured in house. Monitoring of coil and cable failure as well as 50/60 Hz noise suppression can be activated.
Triggering of Test
- Start of test can be done manually at touch screen, via PLC or optional start button. There is an auto-start function that detects the part in the test coil and activates testing immediately or after an adjustable delay time.
Test Frequencies
- Eight frequencies in a range of 5 Hz to 3 MHz are selectable.
Test Speed
- High speed testing within milliseconds. Using eight test frequencies and standard setting (25 Hz – 25 kHz), 141 milliseconds only are needed for the test. In high speed mode only 1 ms is needed for one test frequency > 5 kHz. This eaes above all dynamic tests.
Classification
- Sorting of different materials and testing of mixed batches can be accomplished with the ibg classification function (OR-conjunction). Up to seven good part types with different characteristic can be taught and during testing compared to the taught types and classified according to their part type.
Bar and tube test (option)
- Bars, tubes and wire can be tested in line to verify material, heat treatment and density differences as well as structure changes. Two proximity switches are used to trigger start and end of test. Nearly the entire bar/tube length is tested. An integrated statistical evaluation of the good versus not good tests (absolute and percentage) is automatically updated. A threshold for an allowable percentage (adjustable) of not good tests can be utilized to eliminate rejects caused by irrelevant local material property variations (e.g. from cold working from handling).
Specifications
Connections
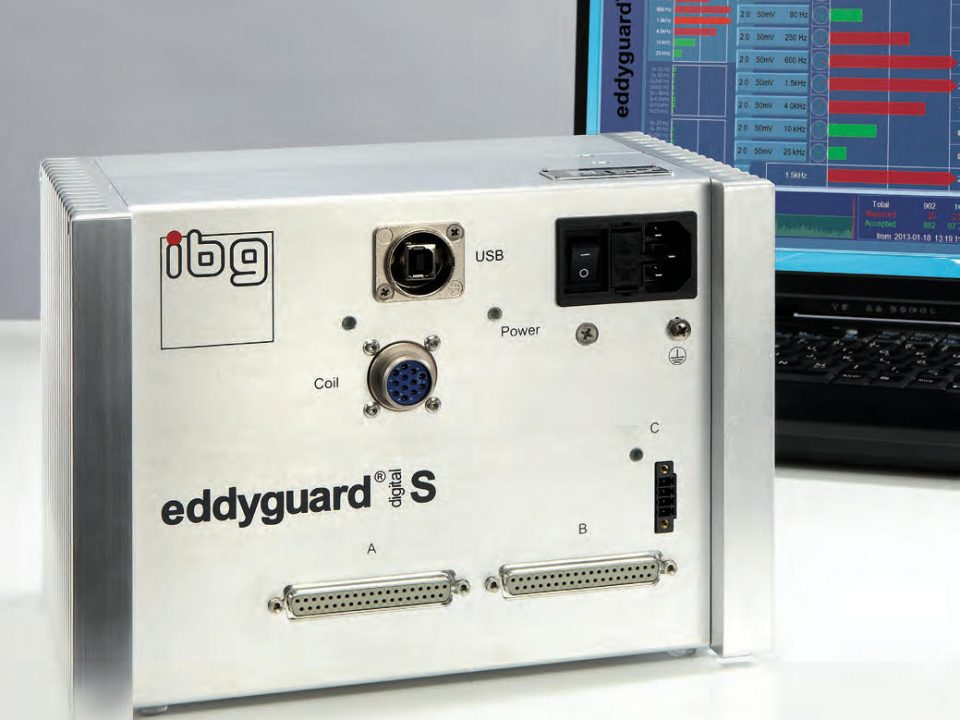
- IO ports An optically insulated interface with 32 in- and 32 outputs is available for PLC connection. As option, a further module with additional 32 in- and 32 outputs can be installed. An allocation of the signals to the IOs is free in the eddyvisor.
- Gigabit-Ethernet network
- XVGA The screen may be displayed on another screen by means of the XVGA-interface. Essential for trainings.
- Printer A usual printer can be connected via USB 2.0 or Ethernet to print screens or protocols.
- USB 2.0 Two USB 2.0 ports at the front, one underneath for data storage.
Housing
- Two models of eddyvisor are available: Desktop version eddyvisor D (with retractable feet, inclined) or as separated switch panel version with operating unit eddyvisor HMI and measuring unit eddyvisor M.
- completely sealed and thus suitable for rough production environment.
Technical data
Mains: 100 – 240 V, 50/60 Hz
Ambient temperature: 0 – 45°C (desktop version 0 – 40°C)
Relative humidity: max. 85 %, non-condensing
Dimensions (w x h x d) / Weight: eddyvisor D 430 x 335 x 271 mm / 13 kg eddyvisor HMI 410 x 308 x 96 mm / 6 kg eddyvisor M 410 x 308 x 175 mm / 7 kg
Documentation
Videos
Video – IBG Eddyrobot Crack and Grinder Burn Detection on Flanged Inner Rings
Video – IBG Crack and Grinder Burn Detection on Bearing Rings Inner Radius and Outer Radius
Video – IBG Crack and Grinder Burn Detection on Large Rings
Video – IBG Ringtester, Crack Test on Inner and Outer Diameters
Video – IBG Crack, Structure, Gauging and Visual Inspection of Pinion Shafts
Video – IBG Crack and Structure Test on Cylinder Liners
Video – IBG Crack, Grinder Burn and Structure Test on Ball Nuts
Video – IBG Crack Detection on Pins
Video – IBG Crack and Structure Test on Lobes for Assembled Camshafts

