Danatronics ECHO 7 Precision Thickness Gauge
September 11, 2019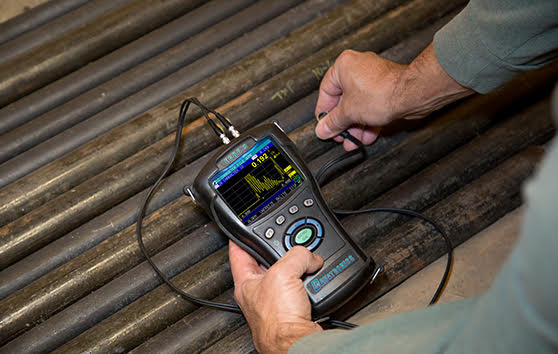
Danatronics ECHO 9 Corrosion Thickness Gauge
September 12, 2019Danatronics UPG-07 Precision Thickness Gauge
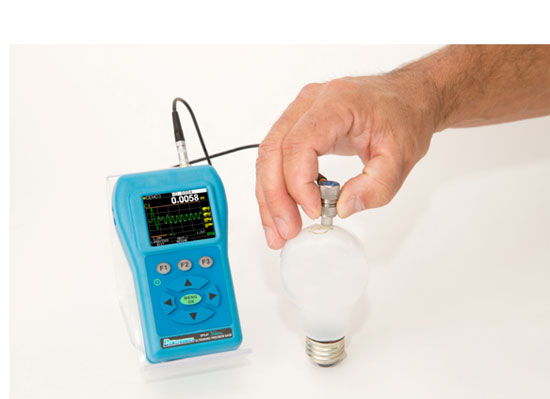
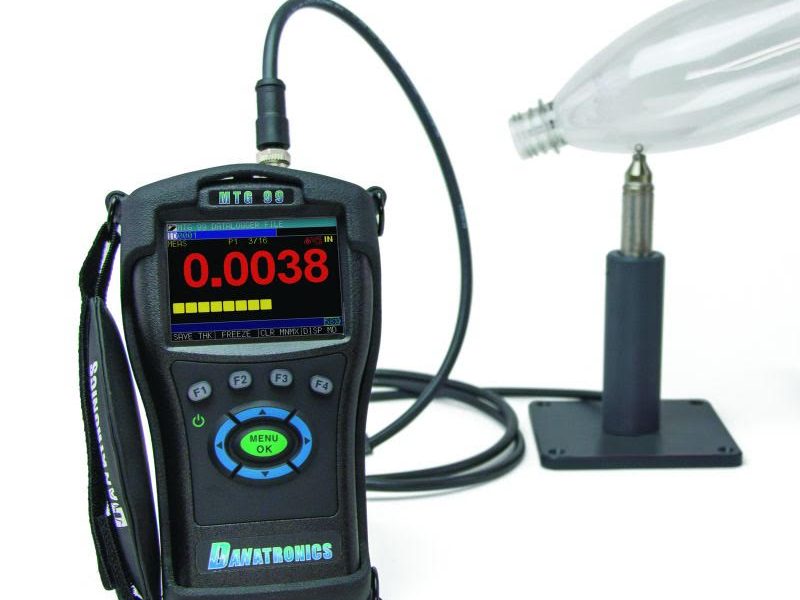
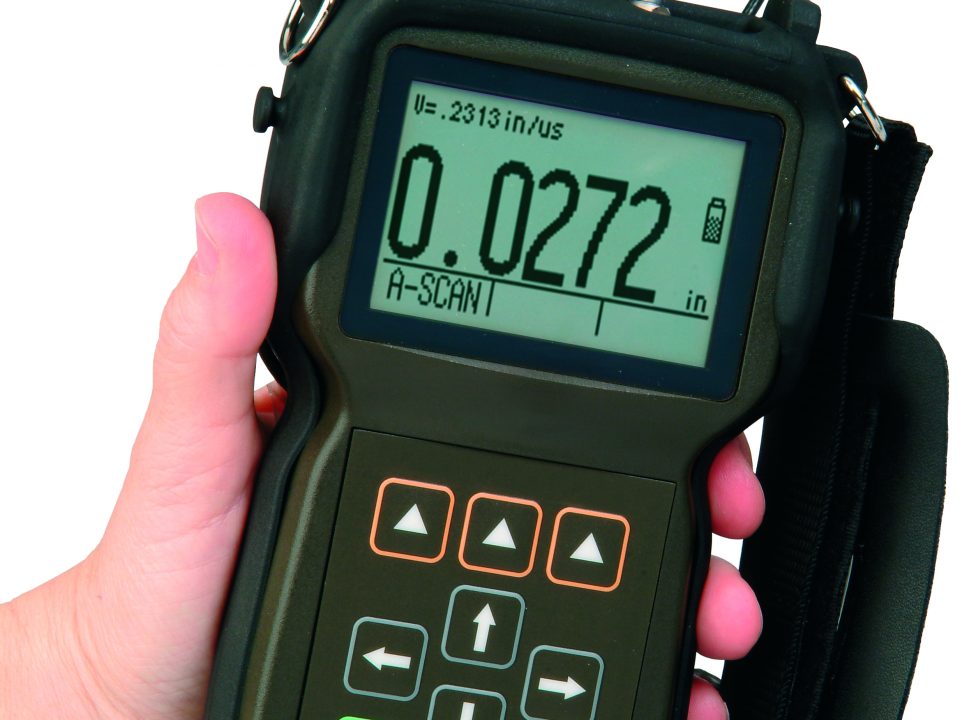
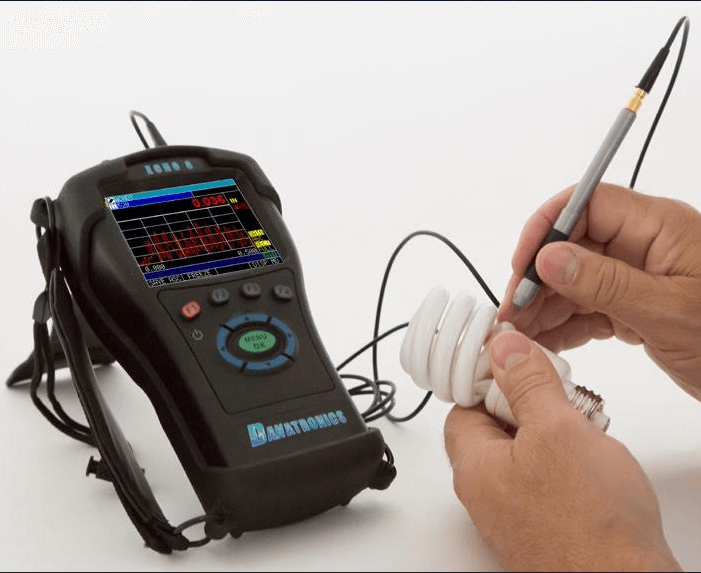
The Danatronics UPG-07 Color Wave series is the ideal unit to non-destructively test the wall thickness for manufactured parts requiring unprecedented accuracy and resolution. The UPG-07 Color series utilizes single element transducers and offers 30 Mhz bandwidth, square wave pulser, .0001” or 1 micron resolution with the ability to store and re-call 30 unique applications. So if you are measuring light bulbs, plastic bottles, golf clubs, coil steel, thin aluminum, aircraft parts and even pure gold bars, the UPG-07 Color Wave series is the right choice.

The Danatronics UPG-07 Color Wave series is the ideal unit to non-destructively test the wall thickness for manufactured parts requiring unprecedented accuracy and resolution. The UPG-07 Color series utilizes single element transducers and offers 30 Mhz bandwidth, square wave pulser, .0001” or 1 micron resolution with the ability to store and re-call 30 unique applications. So if you are measuring light bulbs, plastic bottles, golf clubs, coil steel, thin aluminum, aircraft parts and even pure gold bars, the UPG-07 Color Wave series is the right choice.
Details
Features:
- .0001″ Resolution
- Live color A-Scan
- Vibration and color change on alarm
- Stored and recall of setups
- 30 Mhz. bandwidth
- Square wave pulser
- Zoom auto tracking to center waveform
- 100 K reading datalogger
- Multiple modes for challenging applications
- Gain, range and blanking adjustments
- Available in multiple models
Typical Applications:
- Coil Steel
- Castings
- Rubber…Tires, Conveyor Belts
- Fiberglass…Boat Hulls
- Gel Coating
- Plastics…Bottles, Toys, Tubing
- Ceramics
- Titanium…Golf Club Heads
- Brass
- Aluminum
- Glass
Specifications
Size: 5″ (127 mm) (L) x 3″ (76.2 mm) (W) x 1.25″ (31.75 mm) (H)
Weight: 8 OZ (.23 kg)
Thickness range: 0.004 – 20 inches (0.10 mm – 508 mm), depending on material, temperature and transducer selection
Material velocity calibration range: 0.200-0.7362 in/μsec. (0.508-18.699 mm/μsec.)
Temperature: Gage Operating: -4° F to 122° F (-20° C to 50° C)
Surface temperature of material: Depending on probe used, from -5° F to 1000° F (-20° C to 537° C)
Battery life: Color display up to 10 hours (8 hours with backlight on) Monochrome up to 20 hours (8 hours with backlight on)
Battery type: 2 “AA” Alkaline
Display: Color 220 X 170 Graphics Color TFT with Live Color Waveform or Monochrome 64 X 128 Graphic Display
Information displays: LOS, min, max, large reading while displaying min at the same time, velocity, zero, calibration, units, freeze, unfreeze, % battery life remaining, gain – low, std, high, echo-to-echo symbol
Resolution: 0.0001″ (0.001 mm), 0.001″ (0.01mm)
Probe recognition: Via pick list from a menu
Delay line zero measurement: Auto at power up with listed numeric value Ideal for correcting delay line wear/curvature and for transducer acoustic drift at elevated temperatures
Stored Setups: Ability to store up to 30 custom set ups to retain valuable parameter settings such as sound velocity, gain, slope, range
Modes of Measurement: Class 1, main bang to first back wall echo Class 2, Delay line (interface echo) to first back echo Class 3, Echo to Echo following an interface echo from a delay line or water column
Package: Custom, splash-proof, high-impact plastic with rubber, illuminating keypad for go/no-go testing
Bandwidth: 0.5-30 MHz (-3dB)
Pulser: Square Wave
Units: English/Metric/
Languages: English, German, French, Spanish, Italian, Czech, Finnish, others
WaveForm: Live Color Waveform with Dynamic color change on alarm, large thickness reading. Live Monochrome waveform. See chart for included features by model.
Rectify: RF, Full Wave, Half Wave+, Half Wave –
Blanking: Main Bang Blank and Blank After First Received Echo
Gain: Auto or Manual in 1 dB steps for varying test conditions
Time Dependent Gain: adjust for slope and gain level as a function of time
B-Scan: Cross sectional representation of test piece
Measurement rate: 4/sec and 20/sec in fast mode
Differential Mode: Displays the difference from the actual thickness measurement and a user entered reference value
Alarms: Minimum/Maximum depth, vibralarm (vibration on alarm-patent pending), beeps and display flashes as well as keypad illumination and dynamic waveform color change
Illuminating keypad: F1 = Red, F2 = Yellow and F3 = Green for easy, go/no-go testing
Ergonomics: User selectable lefty or righty display changes via keypad (Patent Pending)
Backlight: Light Emitting Diode, On/Off or Auto On based on valid readings or last key press
Shut off: Auto, time out (after 1-31 minutes user programmable after no reading, L.O.S. or no key press or “never”)
Scan mode: Simultaneously Displays minimum or maximum thickness value at 20 measurements per second (ideal for tracking the minimum depth)
Protective Pouch: Custom molded pouch with wrist strap for either left-handed or right-handed operators.
Shipping case: Hard plastic with high-density molded cut out for all accessories
Freeze mode: Freezes display (ideal for high temp. measurements)
Hold mode: Holds display to retain last thickness reading in reverse video display
Standard UPG-07 series includes: Ultrasonic thickness gage, transducer (less than 10 Mhz with cable), operational manual, couplant, transport case, data XL interface program.
Warranty: Limited 2 year warranty on parts and labor MADE IN USA

